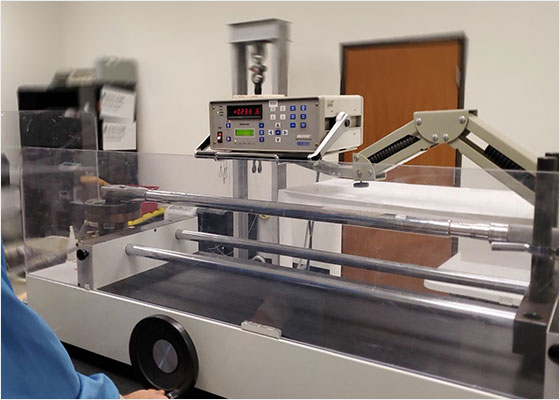
In precision machining, achieving the right tolerance level is crucial for part functionality, quality, and compatibility. Tolerances refer to the allowable deviations in a part’s dimensions, and setting them accurately ensures that components fit and work together seamlessly in complex assemblies. This blog will explore the importance of tolerances in machining, types of tolerances, methods to achieve them, and best practices for managing tolerance requirements in diverse applications.
Why Are Tolerances Essential in Precision Machining?
Tolerances ensure that parts function as intended, especially when they must fit together with other components in an assembly. Excessively tight tolerances can drive up production costs and lead to extended machining time, while overly loose tolerances can compromise the assembly’s performance and lifespan. Therefore, selecting the proper tolerance levels is key to achieving:
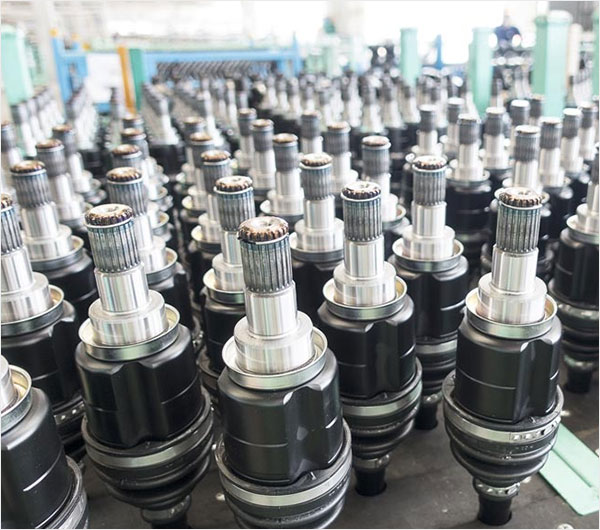
Consistent Part Quality: Tolerances help maintain uniformity across production batches, especially in high-volume manufacturing where consistency is crucial.
Interchangeability: For components manufactured in large quantities, tight tolerance control ensures that any part can be used interchangeably without additional adjustments or modifications.
Performance and Reliability: Tolerances directly impact the functionality of mechanical assemblies. Precise tolerance control ensures components fit properly, reducing wear, noise, and vibrations that could compromise performance over time.
Types of Tolerances in Precision Machining
Tolerances vary depending on the design and application requirements. Here are the primary types used in machining:
Dimensional Tolerances: These specify the allowable variation in part dimensions, such as length, width, and diameter. They’re commonly indicated with plus/minus (±) values on engineering drawings, defining how much deviation is acceptable from the nominal dimension.
Geometric Tolerances: These tolerances specify permissible variations in a part’s shape, orientation, or position. Common geometric tolerances include flatness, roundness, and perpendicularity, often defined according to standards such as GD&T (Geometric Dimensioning and Tolerancing). Geometric tolerances are essential for parts with complex shapes or surfaces that must align perfectly with other components.
Fit Tolerances: For components that interact, such as a shaft and bearing, fit tolerances define the allowable clearance or interference. Common fit types include clearance fit, interference fit, and transition fit, depending on the degree of tightness required between mating parts.
Methods to Achieve Precise Tolerances in Machining
Achieving precise tolerances requires a combination of accurate machining techniques, high-quality tools, and rigorous quality control. Here are some methods that contribute to tight tolerance control:
CNC Machining: CNC (Computer Numerical Control) machining is widely used for precision manufacturing due to its accuracy and repeatability. CNC machines can achieve extremely tight tolerances, often within microns, by controlling tool paths and movements with high precision.
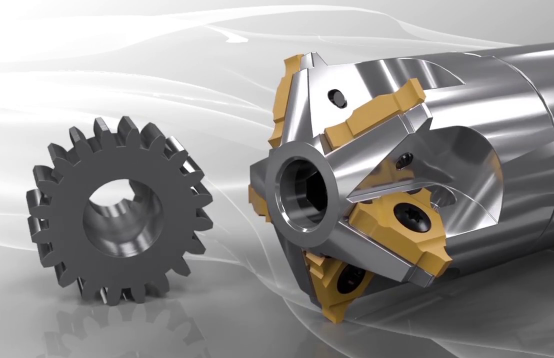
High-Quality Cutting Tools: Using sharp, high-quality cutting tools minimizes tool wear and material deformation, both of which can impact tolerances. For example, carbide tools are often preferred over traditional steel tools for their durability and ability to maintain sharpness over extended periods.
Temperature Control: Temperature fluctuations during machining can cause material expansion or contraction, affecting dimensions and tolerances. Coolants are commonly used to maintain a stable temperature, reducing thermal distortion and ensuring consistent measurements.
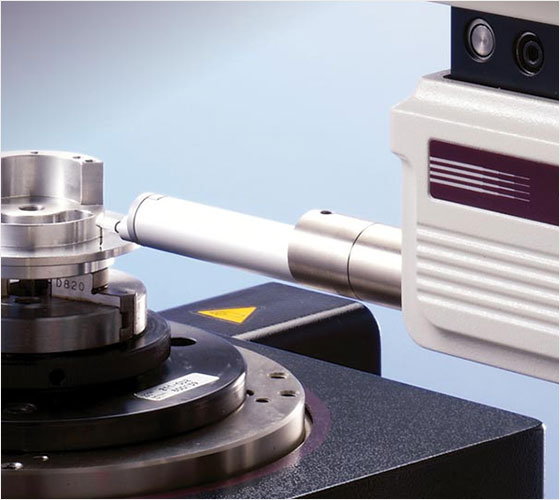
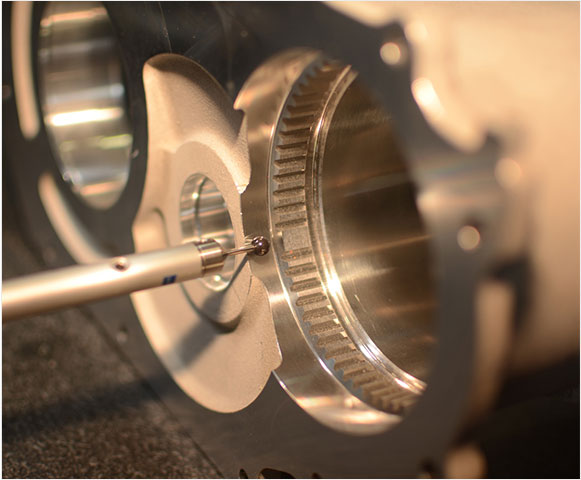
Precision Measuring Equipment: Inspection tools like coordinate measuring machines (CMMs), micrometers, and laser scanners help verify that parts meet specified tolerances. CMMs, in particular, are invaluable for checking complex geometries and high-tolerance parts, as they measure multiple dimensions with extreme accuracy.
Challenges in Achieving Tight Tolerances
Achieving tight tolerances comes with unique challenges, which can vary depending on factors like material type, machine capabilities, and part complexity. Here are a few common issues:
Material Deformation: Materials with high thermal expansion, such as aluminum, may expand or contract significantly during machining, impacting tolerances. High-stress machining processes can also cause distortion, which is especially problematic for thin or intricate parts.
Tool Wear: Cutting tools gradually wear down, affecting accuracy and surface quality. As tools wear, they become less effective at holding tight tolerances, making frequent tool changes and monitoring necessary in high-precision applications.
Complex Geometries: Parts with complex shapes, multiple surface interactions, or small features are more challenging to machine within tight tolerances. Achieving both dimensional and geometric tolerances simultaneously may require specialized equipment or multiple finishing steps.
Cost Implications: Tight tolerances often increase production costs due to the additional time and resources required for precision machining, inspection, and quality control. It’s essential to balance tolerance needs with cost considerations to avoid overengineering parts.
Best Practices for Managing Tolerance Requirements
When defining tolerances for machined parts, understanding the application’s requirements and aligning with practical machining capabilities can ensure successful outcomes without unnecessary costs. Here are some best practices:
Collaborate with Machinists: Engaging with machinists during the design phase can help identify realistic tolerance levels and avoid specifying tighter tolerances than necessary. Experienced machinists can advise on tolerance limits that are achievable for different materials and parts.
Use GD&T Standards: Geometric Dimensioning and Tolerancing (GD&T) provides a standardized way to communicate tolerance requirements clearly. GD&T symbols specify allowable variations in orientation, position, and form, making it easier for machinists to understand critical tolerances.
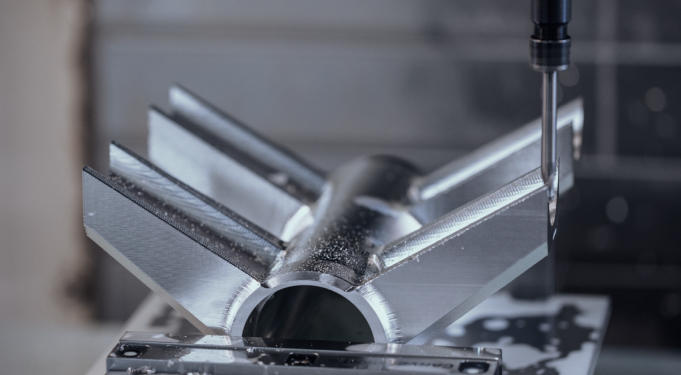
Prioritize Functional Tolerances: Not all dimensions on a part require the same level of precision. Focus tight tolerances on critical features directly impacting functionality or assembly, while allowing looser tolerances for non-essential areas.
Consider Material Properties: Different materials behave uniquely under machining processes, and tolerances may need to be adjusted accordingly. Harder materials may be easier to machine with tight tolerances, while softer metals or plastics might require more lenient tolerances to account for potential deformation.
Technological Advances for Better Tolerance Control
With advancements in precision machining and inspection technology, achieving and maintaining tight tolerances has become more feasible:
Adaptive Machining: Adaptive control systems in modern CNC machines automatically adjust tool paths, feed rates, and cutting speed based on real-time measurements. This helps maintain tolerances by compensating for tool wear, temperature changes, and other factors.
In-Process Inspection: In-process metrology allows for tolerance checks during machining, enabling immediate adjustments when deviations are detected. This reduces the risk of producing parts out of specification and helps maintain consistent quality.
Advanced Measurement Tools: Laser and optical measurement systems provide precise, non-contact measurements, which are especially useful for delicate or intricate parts that may be damaged by physical probes. These tools enable high-accuracy tolerance verification without risk of altering the part.
Conclusion
Tolerances play a pivotal role in precision machining, impacting everything from part quality to overall manufacturing efficiency. By understanding tolerance types, selecting achievable specifications, and implementing best practices in machining and inspection, manufacturers can produce high-quality components that meet exacting standards. Advances in CNC technology, metrology, and adaptive machining make it easier than ever to control tolerances effectively, enabling machinists to balance accuracy with efficiency in increasingly complex applications.

