Introduction
Embarking on any project involving metal surfaces often necessitates the essential step of removing anodize. Whether you’re a passionate DIY enthusiast or a seasoned professional, the ability to comprehend and navigate the intricacies of this process is of utmost importance. In this expansive guide, we embark on a detailed exploration of various techniques, drawing from a wealth of expertise and hands-on experiences. Our aim is to provide you with not only a comprehensive understanding but also practical insights that empower you to confidently tackle anodize removal. So, gear up for a thorough journey into the diverse world of techniques, ensuring you’re well-equipped for success in your metal surface projects.
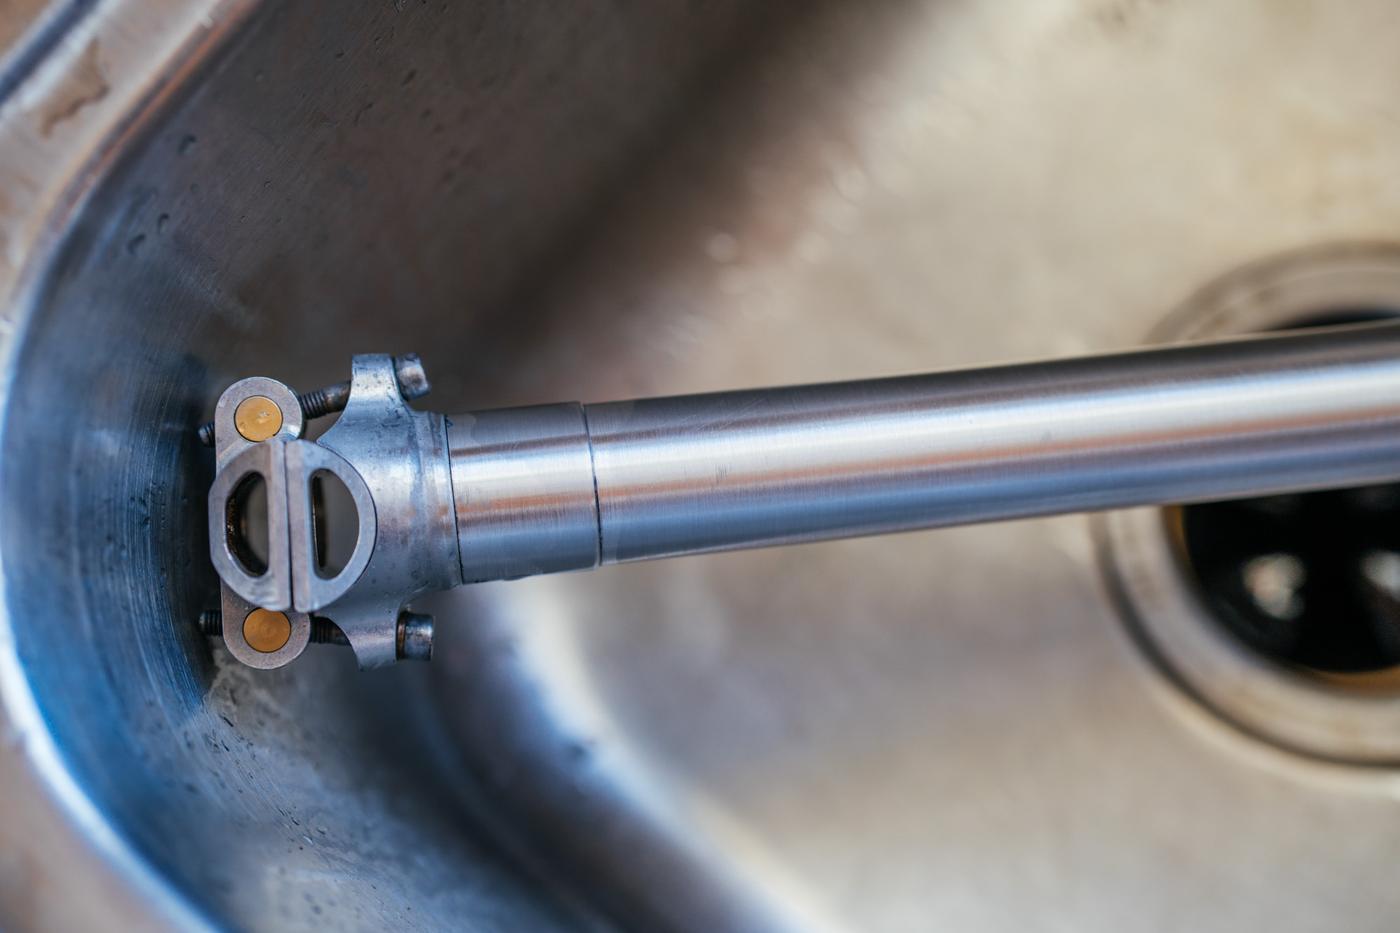
How to remove anodize
Removing anodize from metal surfaces can be accomplished using various methods. Here’s a simple guide to get you started:
Materials you’ll need:
Anodized metal object, Lye-based oven cleaner or paint stripper, Plastic or wooden scraper, Fine steel wool or abrasive pad, Protective gloves and safety goggles
Steps:
Safety First: Wear safety gloves and safety goggles to protect yourself first.
Choose a Well-Ventilated Area: Work in a well-ventilated space or outdoors to ensure proper air circulation.
Apply Oven Cleaner or Paint Stripper: Spray or brush lye-based oven cleaner or paint stripper onto the anodized surface. Make sure to follow the product’s instructions and warnings.
Allow Time for Penetration: Let the cleaner or stripper sit on the surface for the recommended duration. This allows it to penetrate and loosen the anodized layer.
Scrape Off Anodize: Use a plastic or wooden scraper to gently scrape off the loosened anodized layer. Avoid using metal scrapers, as they may damage the underlying metal.
Repeat if Necessary: For stubborn areas, you may need to repeat the process until the anodize is completely removed. Be patient and thorough.
Clean Residue: Wipe away any remaining residue with a clean, damp cloth. Ensure that the surface is free from the stripping agent.
Smooth the Surface (Optional): If desired, use fine steel wool or an abrasive pad to smooth the metal surface. This step is particularly relevant if you plan to refinish or repaint the metal.
Rinse and Dry: Rinse the metal thoroughly with water to remove any remaining chemicals. Dry it completely with a clean cloth.
Dispose of Chemicals Properly: Dispose of any used chemicals following the manufacturer’s guidelines and local regulations.
Common mistakes that you should avoid
When removing anodize from metal surfaces, it’s essential to be aware of common mistakes to ensure a successful and safe process. Here are some pitfalls to avoid:
Using Metal Scrapers: Avoid using metal scrapers during the anodize removal process, as they can scratch or damage the underlying metal surface. Opt for plastic or wooden scrapers to prevent unintended marks.
Insufficient Ventilation: Working in an inadequately ventilated area can lead to inhaling fumes from the stripping agents.
Ignoring Safety Precautions: Failing to use proper safety gear, such as gloves and safety goggles, can result in skin and eye irritation. Always prioritize safety by wearing the recommended protective equipment.
Not Reading Product Instructions: Neglecting to read and follow the instructions on the chosen stripping agent can lead to improper application or extended exposure times. Adhering to product guidelines ensures effective and safe anodize removal.
Rushing the Process: Anodize removal may require time for the stripping agent to work. Rushing the process can result in incomplete removal and the need for additional applications. Be patient and follow the recommended waiting times.
Skipping Surface Preparation: Neglecting to properly prepare the surface before applying the stripping agent can reduce its effectiveness. Ensure the metal is clean and free from debris before starting the anodize removal process.
Using Incompatible Materials: Some stripping agents may react negatively with certain metals or materials. Make sure the chosen stripping agent is compatible with the metal you’re working on, and test a small area if uncertain.
Inadequate Rinse: Failing to thoroughly rinse the metal after anodize removal can leave behind chemical residues, affecting the metal’s integrity. Rinse the surface with water and dry it completely.
Overlooking Environmental Considerations: Disposing of used stripping agents without considering environmental regulations can lead to negative impacts. Follow proper disposal guidelines to minimize environmental harm.
Not Testing in a Small Area: Before proceeding with the full anodize removal, it’s advisable to test the chosen stripping agent on a small, inconspicuous area. This helps ensure compatibility and prevents potential damage.
Know more about this from the best place
If you’re into checking out cool anodizing stuff, Junying’s website is where it’s at! It’s like the ultimate go-to place with a bunch of info and handy tips that work for everyone – whether you’re just starting or you’re a pro. Browsing through their site is like having a buddy guide you through anodizing, and everything’s laid out so nicely. So, if you’re curious about the basics or itching to get into some advanced stuff, Junying’s website is your spot to explore the world of anodizing processes and make those metal surfaces look seriously awesome!
FAQs
What are the common methods for removing anodize?
Common methods include using lye-based oven cleaner or paint stripper, abrasive materials, or specific anodize removal products.
Is it safe to remove anodize myself, or should I seek professional help?
DIY removal is possible, but it’s crucial to follow safety guidelines. For complex tasks or valuable items, consulting a professional may be wise.
Are there environmental considerations when removing anodize?
Yes, proper disposal of any chemicals used in the process is essential. Follow local regulations and guidelines to minimize environmental impact.
Can anodize be removed from all types of metals?
Anodize removal methods may vary for different metals. It’s crucial to choose a method compatible with the specific metal you are working on.
Do I need to follow any post-removal steps to preserve the metal?
Yes, after removing anodize, it’s advisable to clean the metal thoroughly, rinse it to remove any residual chemicals, and consider applying a protective finish to prevent future corrosion.
Conclusion
You’ve successfully navigated the intricate process of anodize removal. Armed with newfound knowledge and expertise, you’re ready to tackle metal projects with confidence. Embrace the possibilities that come with a pristine, bare metal surface.


